Peter Drucker once said, “What gets measured gets managed.” While he himself is the management space, his quote proves to be true both in the business & personal space.
Need to get in shape? You will need not only to monitor your fitness routine, like the gym & cardio, but you also need monitor your diet & your weight with weighing scales daily or weekly, based on your system. And even today, there will be fitness experts who will argue with me because there are other more sophisticated ways to monitor your fitness progress apart from just regular body weight.
Need to monitor you sleep? Not only should you track your sleeping hours, there are now dedicated tools to help you do that, such as the Oura Ring.
The same is true for your online business. However, most, if not all, businesses are just operating in what I call the “Monkey see, monkey do” system: they see what works with other businesses, then copy them based on how effective they are hoping to get the same results without thinking for a second if it’s applicable to them. While this is sometimes a valid strategy as you will need to monitor your competition, it will only get you so far. You also need to look at the data if your efforts are getting any return.
That’s where Google Analytics come in. If you know how to read Google Analytics, you will be able to make business decisions with cold, hard data moving forward, rather than just seeing what others are doing or just operating with your gut feeling.
In this guide, before we will see how to use Google Analytics, we will be learning how to setup Google Analytics for our website.
Why Use Google Analytics?
Once you start a website for your online business, your main objective is to get more website visitors to it, generate more leads, & make more sales from it. Otherwise, your website just sits pretty & isn’t generating an ROI for your business.
It is also important for business owners to make decisions based on cold, hard data, not just on gut feelings & emotions.
Ever since Google came up with this tool, Google Analytics has been the main standard for web analytics, as well as for how most business owners get a top level overview of how healthy a online business is. It’s how most digital marketers assess the performance of their campaigns & marketing efforts, & it’s also the way online business owners look at an online business before buying it.
2 Types of Google Anaytics
As of writing this article, there are 2 types of Google Analytics.
Universal Analytics (UA)
When people mention Google Analytics today, they are most probably referring to Universal Analytics. Released in 2012, this has been the standard way how business owners & marketers are monitoring how their websites are performing online. According to BigCommerce’s article, Universal Analytics is the current standard of how user data is currently collected & organized.
According to Google Support, it is no longer the default property type for websites as of October 2020. This is due to the ever-evolving national laws of the world where privacy is more of a concern, so the current way of collecting data about your customers needs to be reinvented to accomodate for that.
Google Analytics 4 (GA4)
According to a support article by Google, GA4 is a new property designed for the future of measurement:
- Collects both website and app data to better understand the customer journey
- Uses events instead of session-based data
- Includes privacy controls such as cookieless measurement, and behavioral and conversion modeling
- Predictive capabilities offer guidance without complex models
- Direct integrations to media platforms help drive actions
This will be the future of Google Analytics moving forward, so this guide is created with that in mind.
How to Signup for Google Analytics
Before you can integrate Google Analytics to your website, you should first setup a Google Analytics account.
1. Signup for a Google Analytics account.
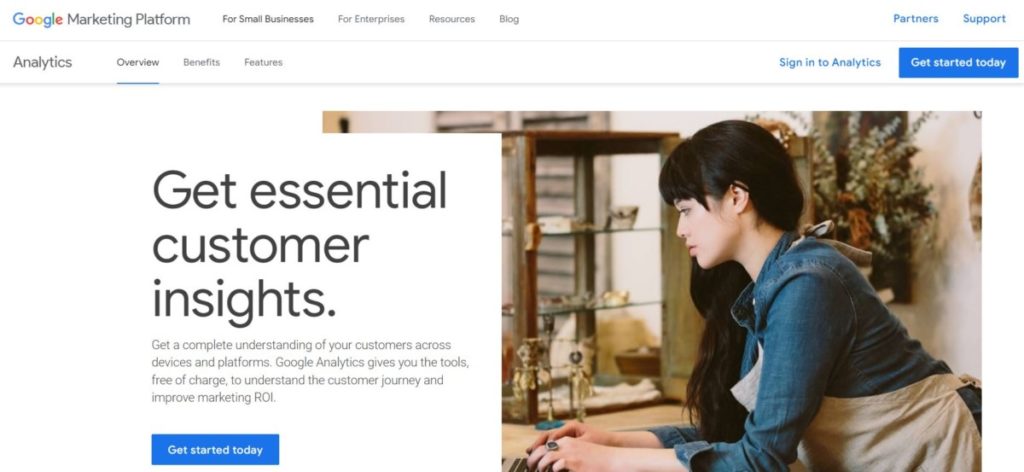
Head over to the Google Analytics homepage to get started. Once you are there, simply click “Get started today”.
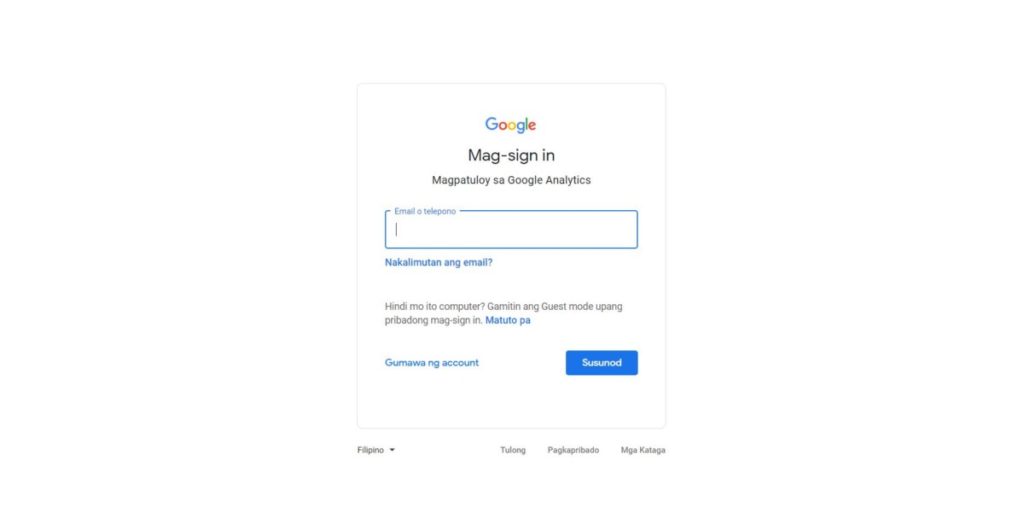
Once you click it, you will be prompted to use your Google account to login. If you don’t have a Google account, you can create one yourself.
2. Going through the welcome screen.
Once you logged in to your Google account in Google Analytics, you will see the welcome screen below.
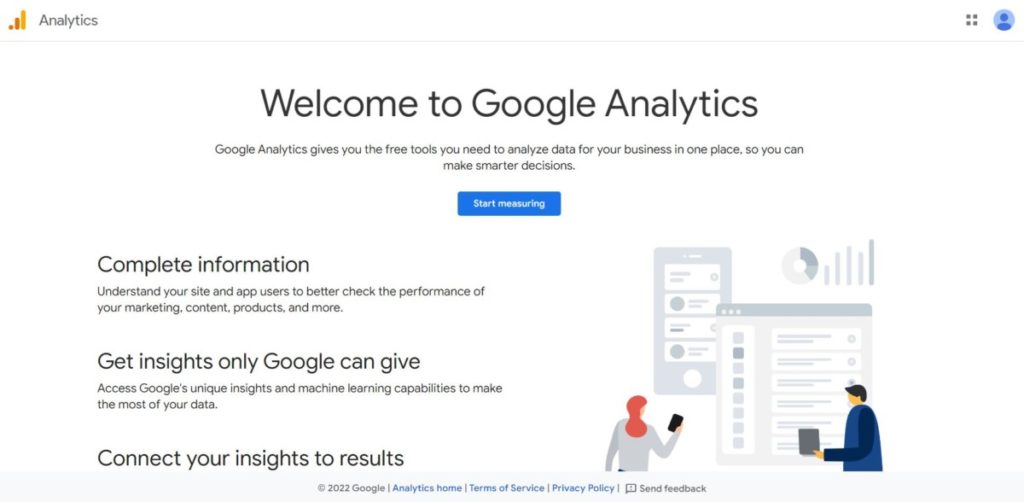
Just click “Start measuring”, and you’ll be prompted to create an Account.
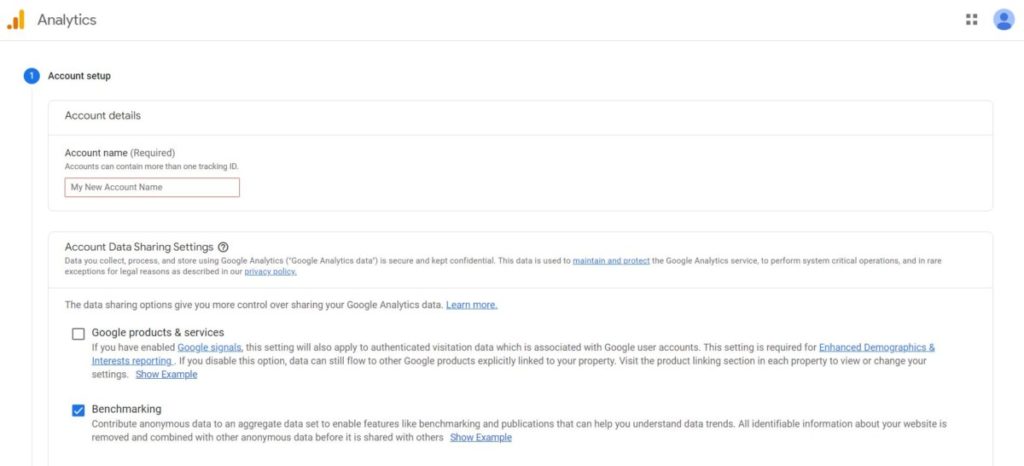
Your account name will be used internally in Google Analytics, so you can use your business name. For Account Data Sharing Settings, you can keep it as default & click Next.
3. Creating your Google Analytics Property
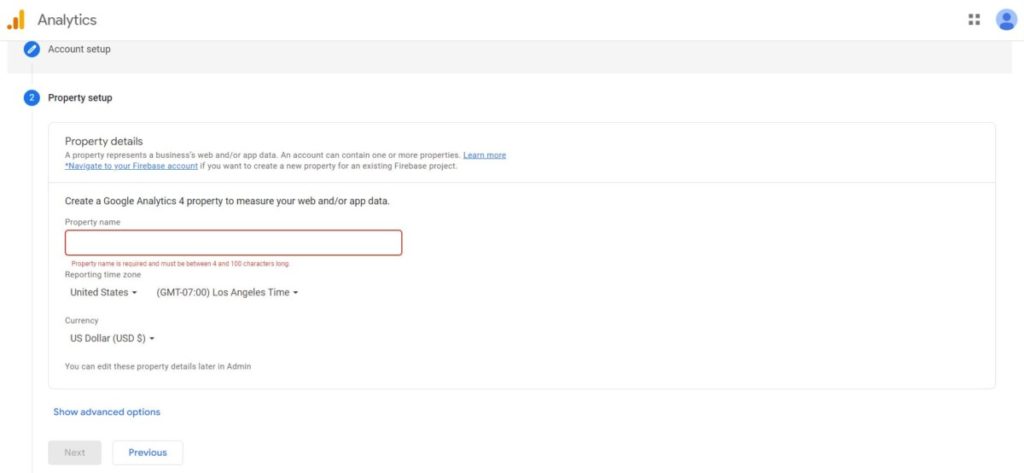
Once you have entered your account name & account data sharing settings, you will be asked to create a Google Analytics property.
Start by entering a property name, which can be your business name + website. Set your reporting time to your current country, & set your currency to your local currency.
As mentioned above, Universal Analytics will be sunsetting in July 2023, so we should setup our Google Analytics account to be prepared accordingly. Even with that current situation, let’s scroll down & select “Show Advanced Options”, then click “Create a Universal Analytics Property”. Switch it on, & enter your website URL in the textbox shown. After that, select “Create both a Google Analytics 4 and a Universal Analytics property”, as well as tick the box for “Enable enhanced measurement for Google Analytics 4 property”.
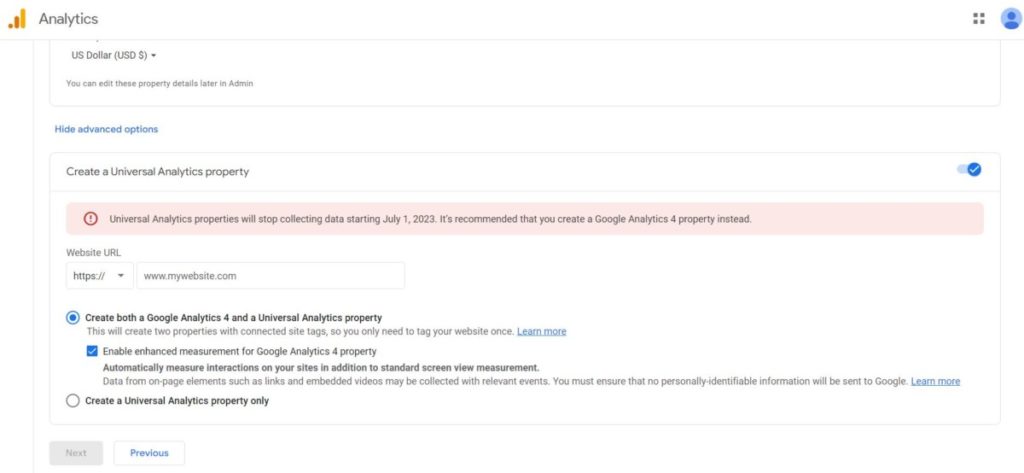
As mentioned above, UA is still the most developed of the 2 types of web analytics Google Analytics has to offer, so it’s the easiest for webmasters & marketers to interpret as of now. However, we will be preparing ourselves for the future by setting up a GA4 property & sending data to it, too.
After finishing that, tell Google Analytics a little about your business.
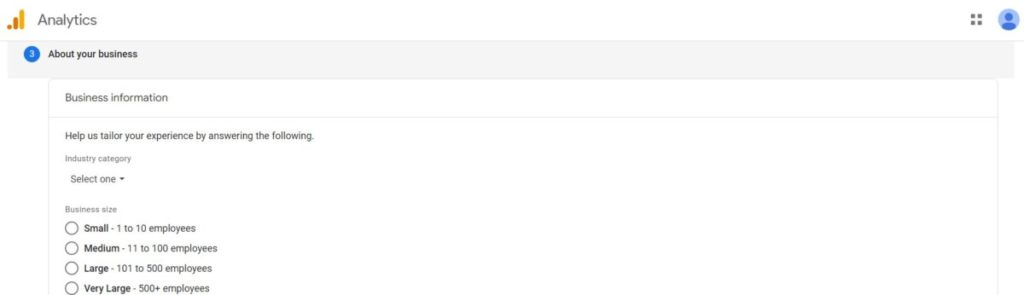
Select your Industry category by clicking “Select one”. For example, if you’re selling cars as a dealership, select “Autos & Vehicles”. If you can’t find one that matches your business exactly, select the one closest to it. Next, select your business size based on the no. of employees.
Afterwards, tell Google Analytics how you intend to use Google Analytics for. Check all that apply.
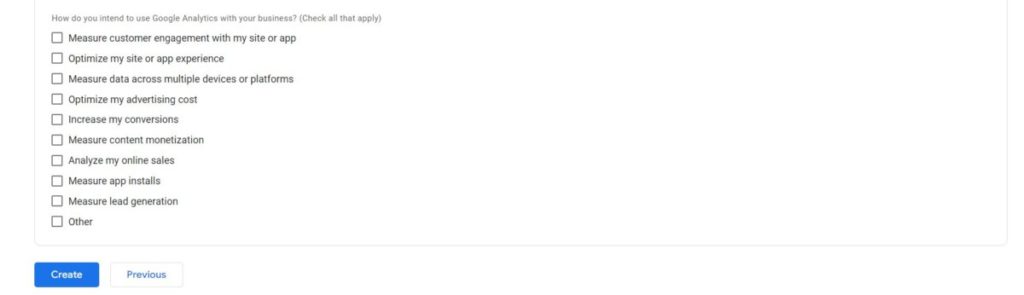
After that, click Create. A popup for Google Analytic’s Terms of Service & Agreement will show.
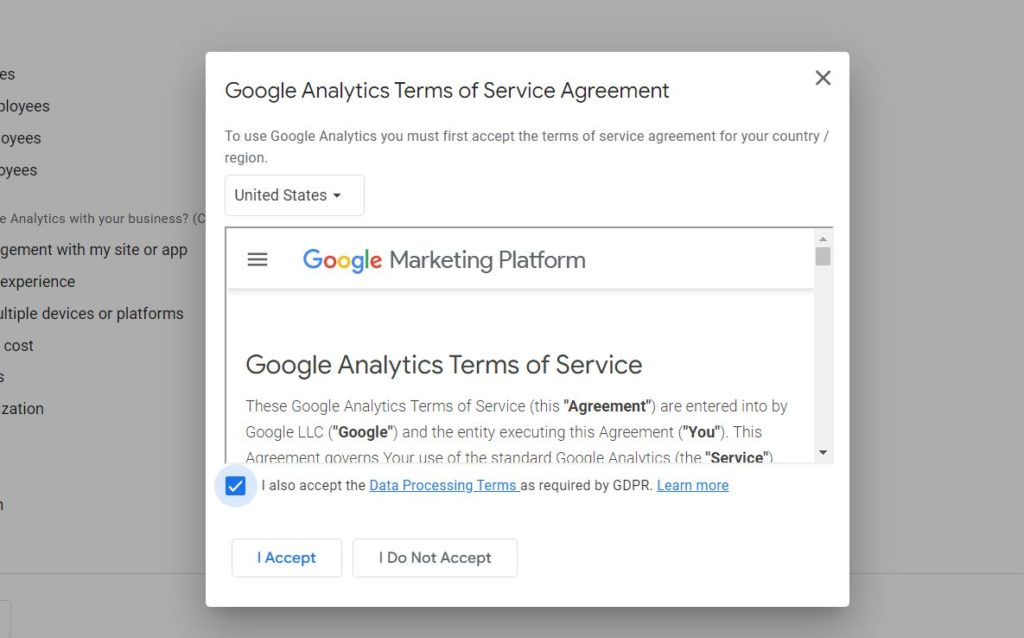
Click “I Accept”.
How to Install Google Analytics in Your Website
Once you have setup your Google Analytics account, you will be shown a popup entitled “Web Stream Details”.
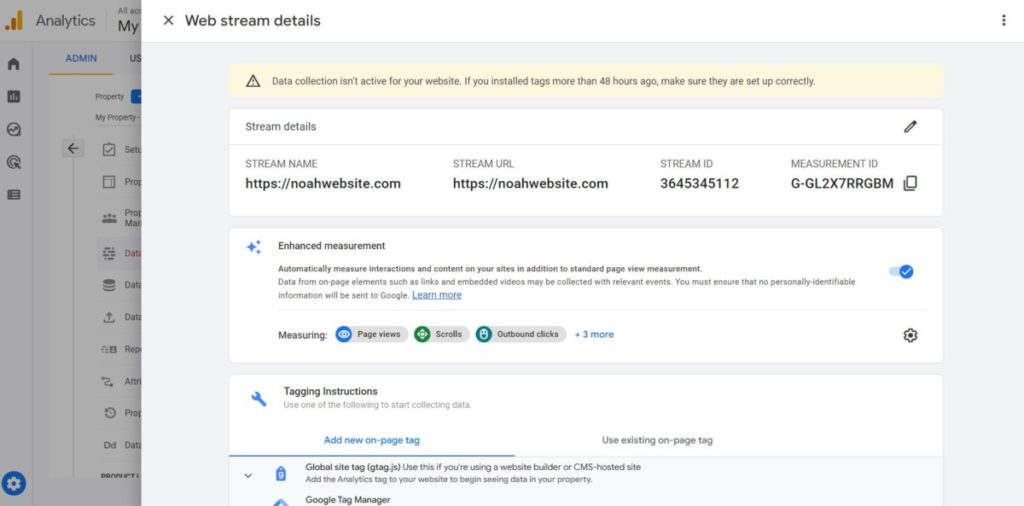
This popup contains important details in linking your Google Analytics property to your website, so you can leave your tab open as we go through this guide.
For Other Websites
If you intend to link your Google Analytics account to a website that isn’t made in WordPress, this is the simplest way you can get your website up & running with Google Analytics. You can scroll down in the Web Stream Details popup & click “Global site tag (gtag.js)”, then you will see the code snippet below.
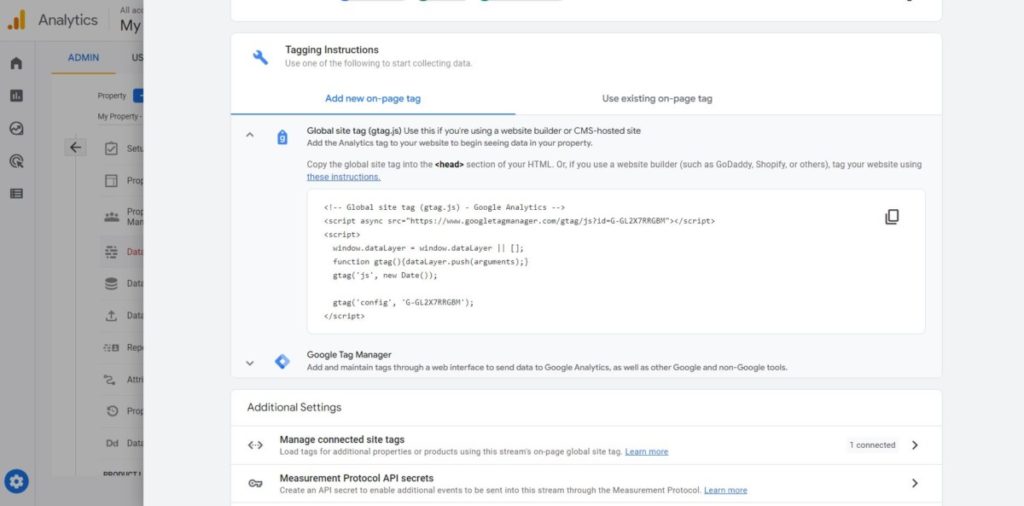
From there, Google has a very comprehensive article showing the different ways you can add this code snippet to different web content management systems (CMSs) such as Drupal, Joomla, Shopify, or Weebly.
If your website is coded from the ground up in HTML, CSS, & Javascript, simple paste this code snippet in the <head> section of your HTML.
For WordPress
I will write a separate section for WordPress because this is my specialty, & the best way to link Google Analytics to WordPress is through the MonsterInsights plugin. There are other methods & plugins to do this, but I specifically chose this because this plugin automatically blocks tracking if you are an Admin of the website, & it allows dual tracking for UA & GA4 seamlessly (something very valuable in this crucial transition period for Google Analytics). It is also the most popular Google Analytics WordPress plugin with at least 3 million downloads to date.
Before following these steps, you should have a WordPress website setup already. If you don’t have one yet, you can reach out to me, so we can discuss how a website can be tailored to grow your business. I have helped numerous businesses generate a total of Php1MM of sales online so far.
1. Add the MonsterInsights Plugin
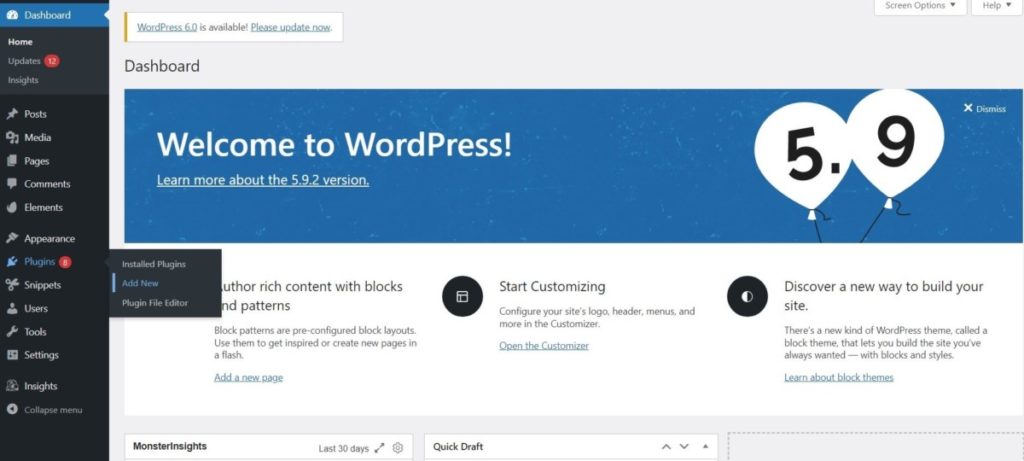
Login to the backend of your WordPress website, & go to “Plugin” on the lower left handside of the screen. Then, select “Add New”.
Then, search for “MonsterInsights” in the search bar. You should be able to see the plugin with the purple monster as the picture.
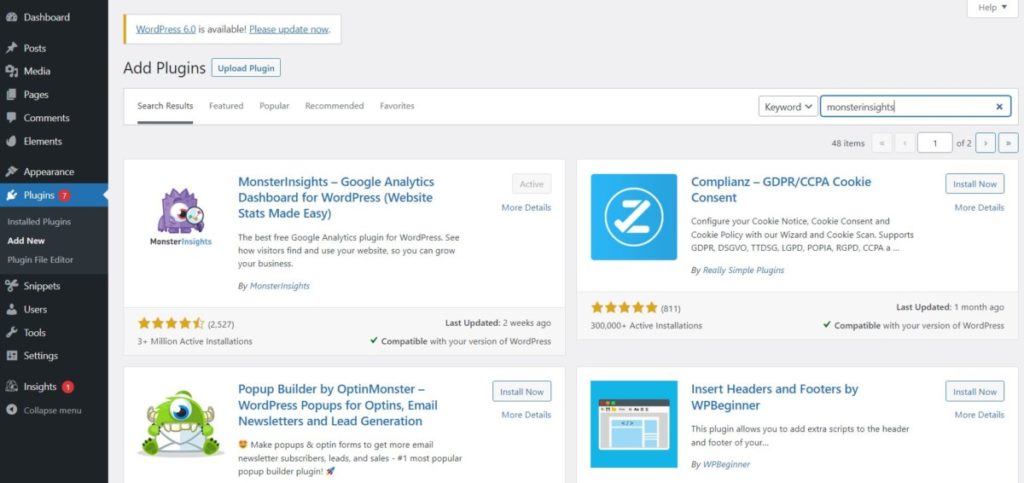
If you haven’t already, install the MonsterInsights plugin from the search results.
2. Go through the Setup Wizard
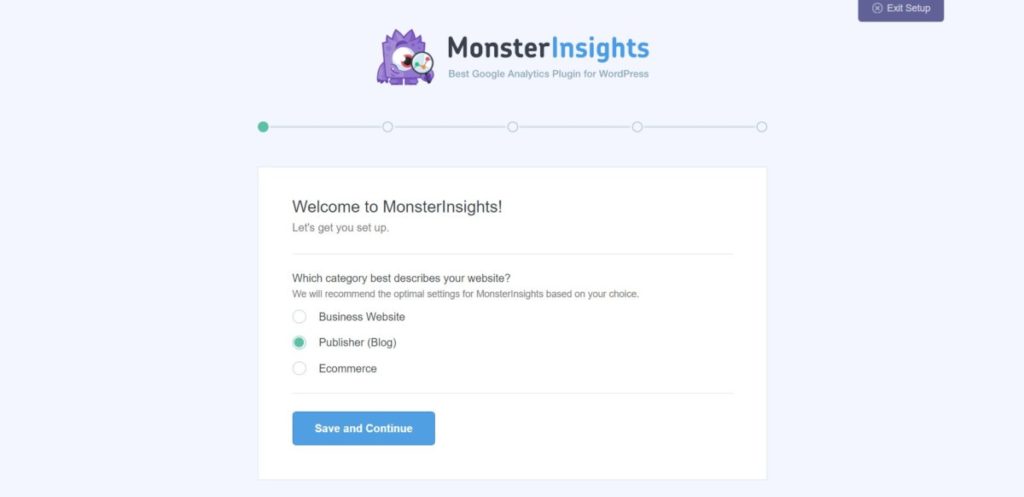
Once the installation is finished, a setup wizard will automatically start to fast track your installation of the plugin.
When the setup wizard starts, select the type of business you are in. Run a small business? Select Business Website. Run an E-commerce business? Select Ecommerce. You get the drill.
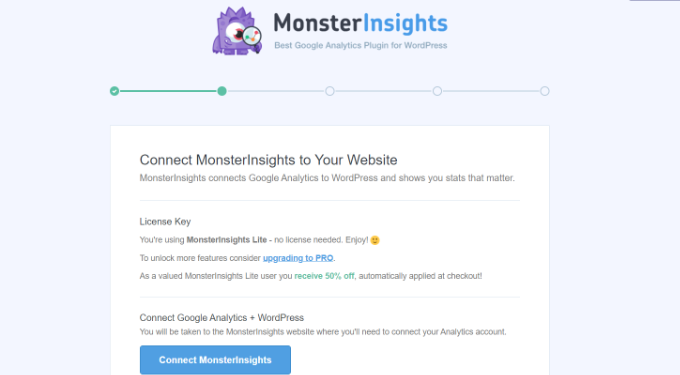
Next, we will be connecting MonsterInsights to our WordPress Website. Click “Connect MonsterInsights”.
This will redirect you to a Google Accounts login page. Choose the Google account or email you created with Google Analytics.
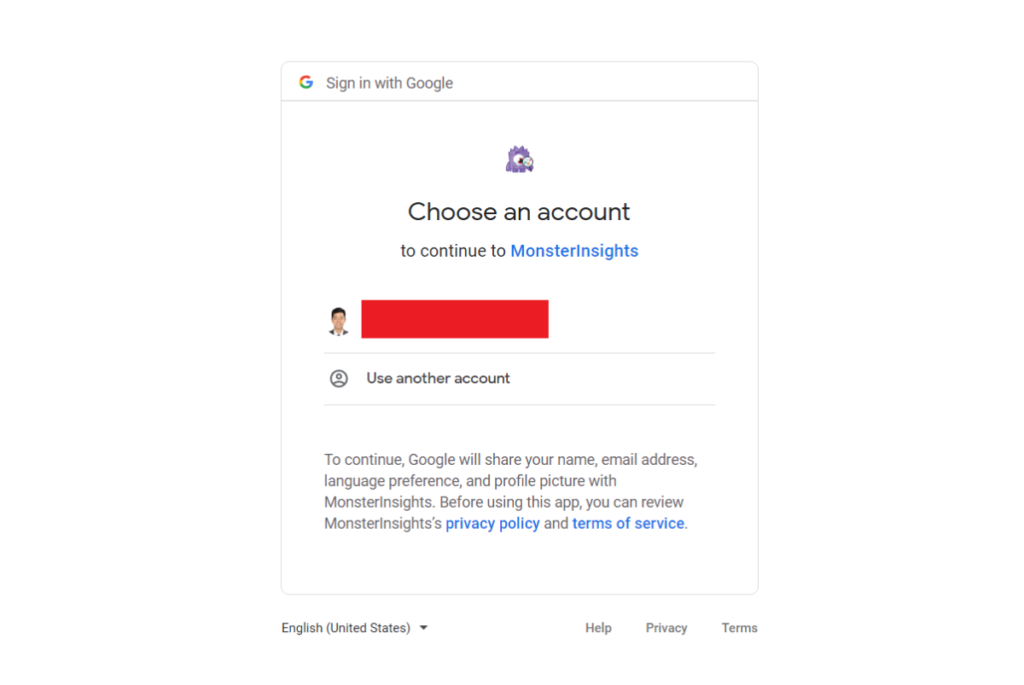
Afterwards, MonsterInsights will request some access to data in your account. Review the data you will be giving access to this plugin, then click “Allow”. Don’t worry; the data you are being asked to share isn’t personally sensitive.
Next, select the Google Analytics account to link to MonsterInsights. In this guide, since you have set up both a UA & a GA4 property, you will see 2 main properties here. We will be selecting the GA4 property here, the one with “GA4” in the end.
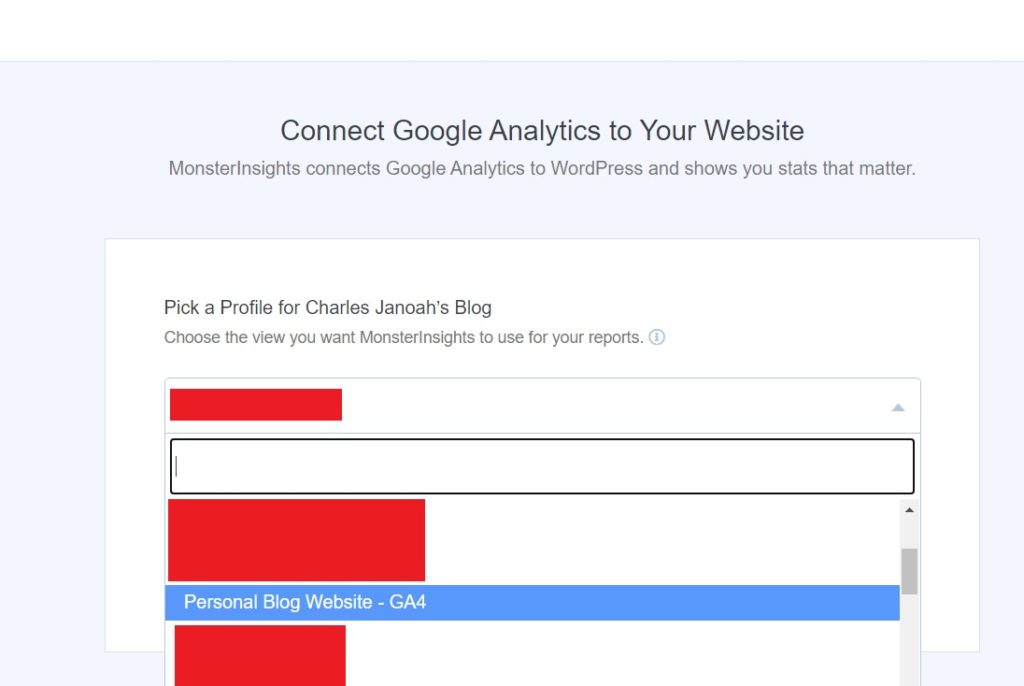
When you created your Google Analytics account with the steps above, you should have 2 kinds of properties: a UA & GA4 property.
You can choose either property, because we will be setting up dual tracking later.
Click “Complete Connection”. MonsterInsights will connect Google Analytics to your website.
Afterwards, select the recommended settings in this page. Unless you know what you’re doing for advanced users, the default recommended settings are enough.
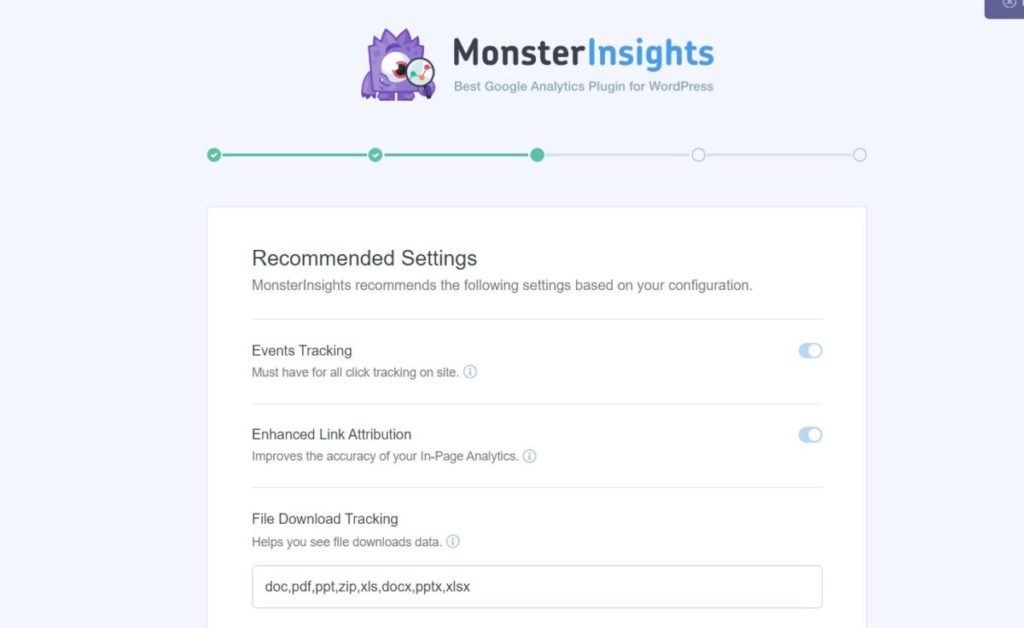
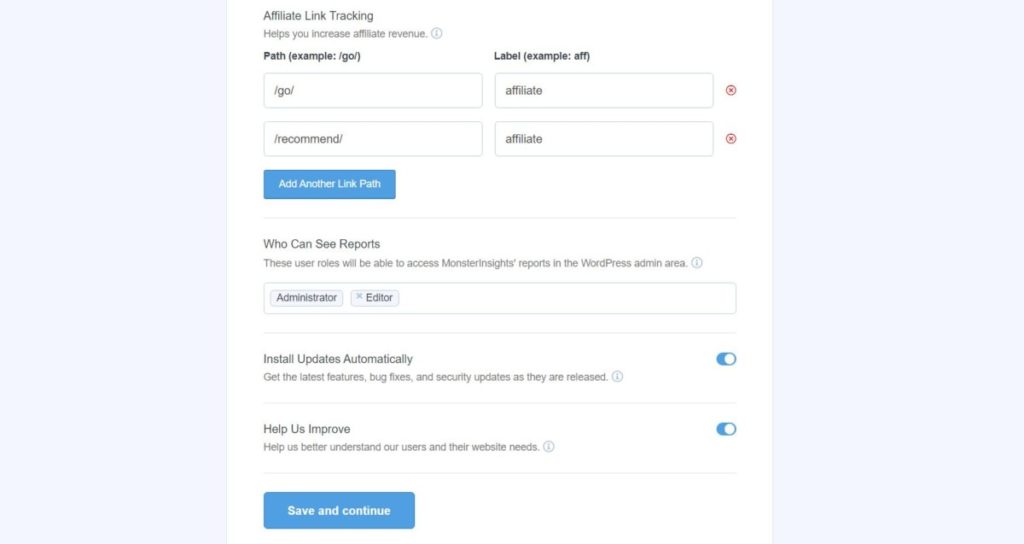
MonsterInsights will also ask who can view reports. Administrator & Editor is enough. Other settings can be left as default.
Click “Save and continue”.
In the next screen, you will be asked which website tracking features you will like to enable. Standard Analytics & Reports & Enhanced Link Attribution are automatically checked, while the rest are optional. Personally, I prefer to add these add-ons myself, not from these auto-recommendations. So, scroll down & choose “Skip for Now”.

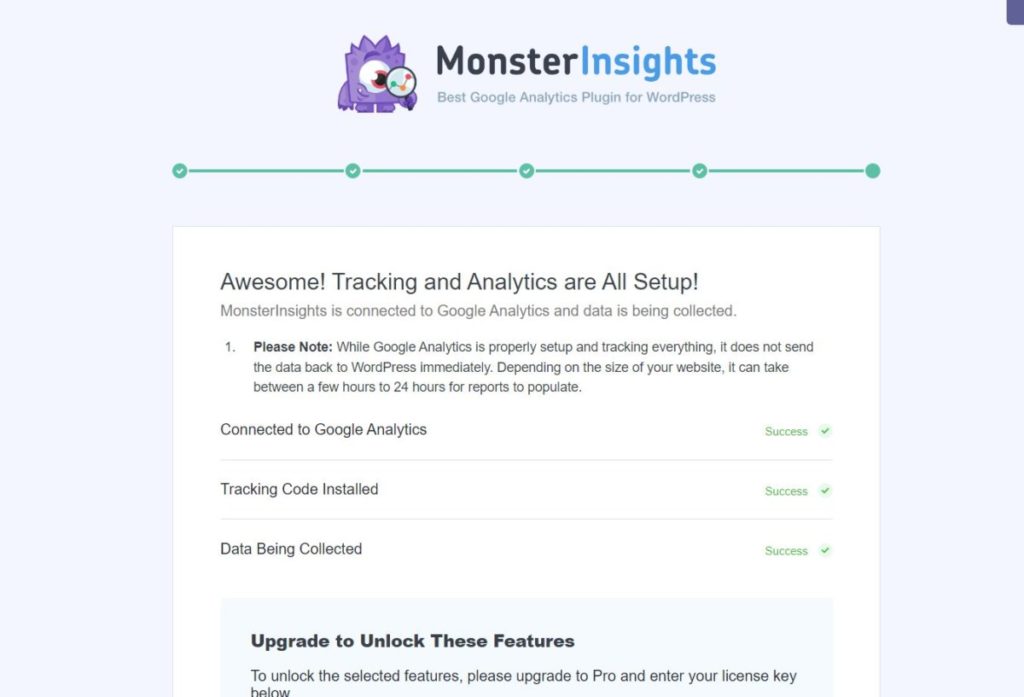
In the next screen, MonsterInsights will thank you for completing the setup & ask to upgrade to the Pro version. For our use case, the Free version is enough, so scroll down & click “Complete Setup without Upgrading”.
3. Setup Measure Protocol API Secret
Next, you’ll need to setup a Measure Protocol API Secret, which will allow MonsterInsights to send eCommerce purchases & form conversions to Google Analytics, apart from the regular connection we have setup.
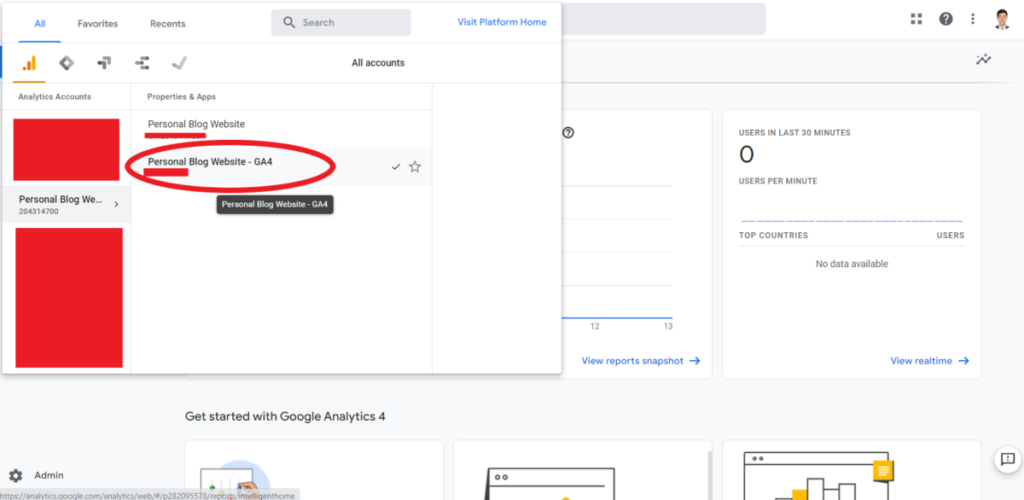
Go to your Google Analytics account, & make sure you have selected the GA4 property of your account.
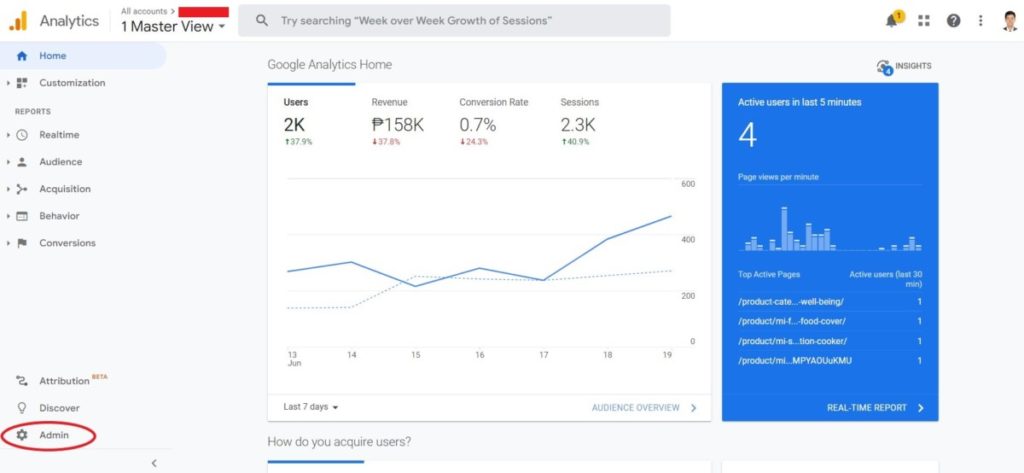
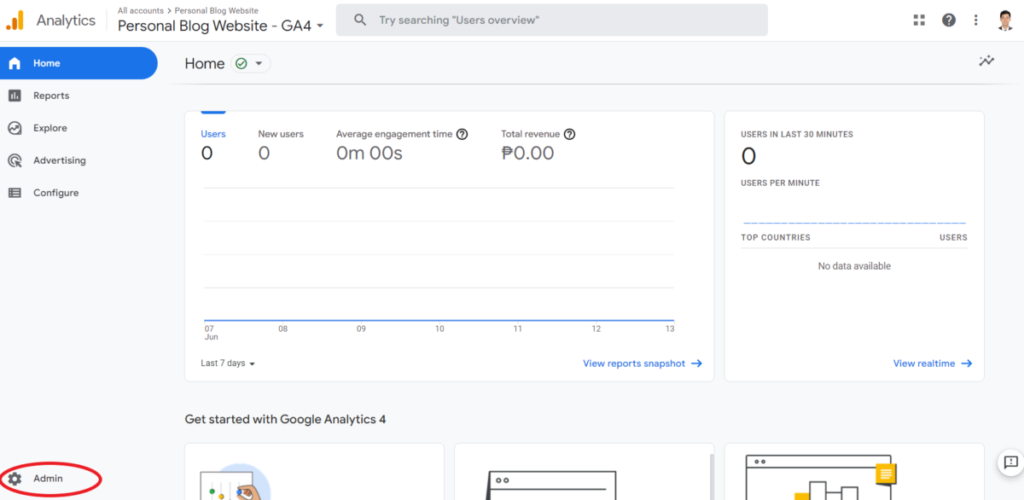
Click on the Admin section in the lower left section.
Go to “Data Streams”.
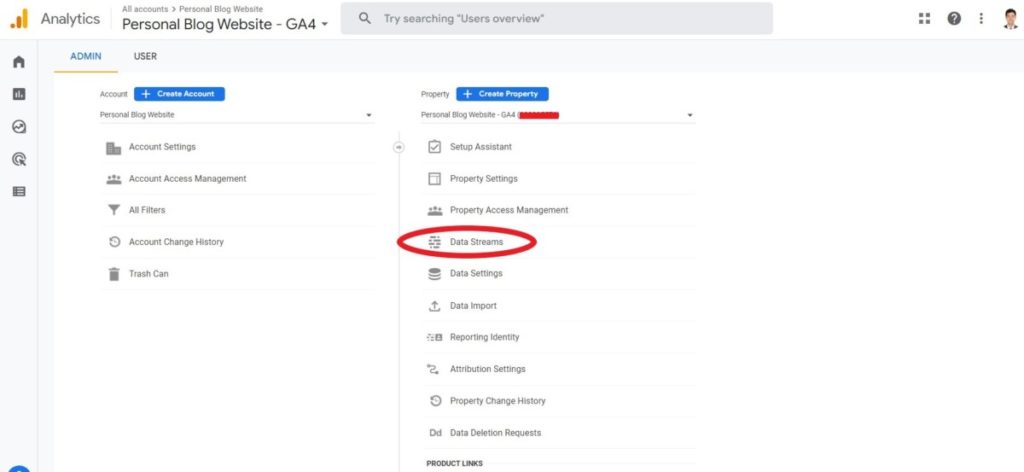
Choose the Data Stream you connected with MonsterInsights.

A popup with your Data Stream details will appear.
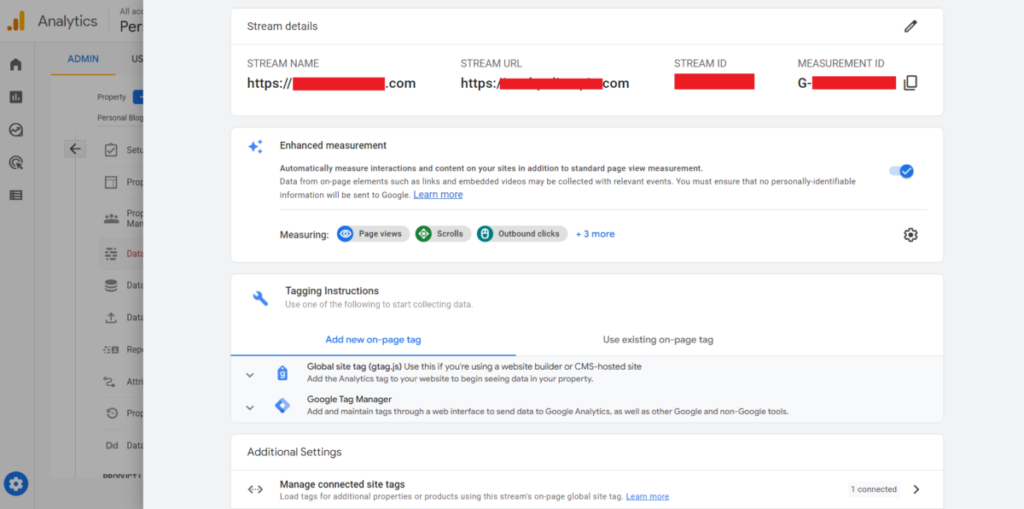
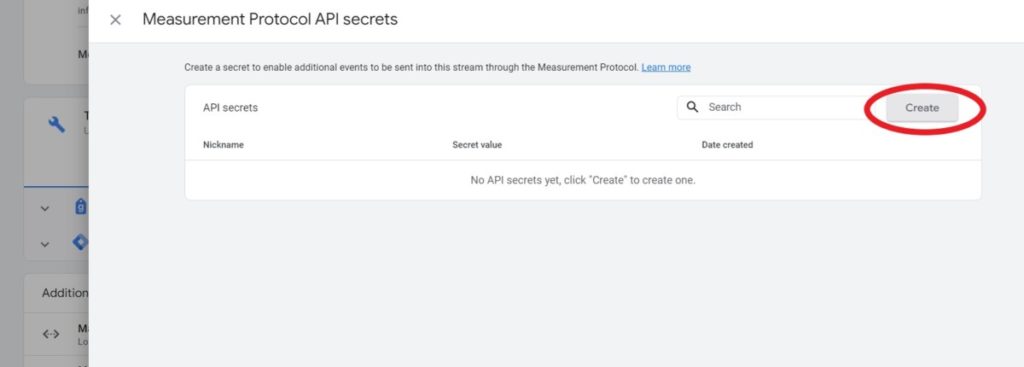
Scroll down until you see “Measurement Protocol API Secrets”.
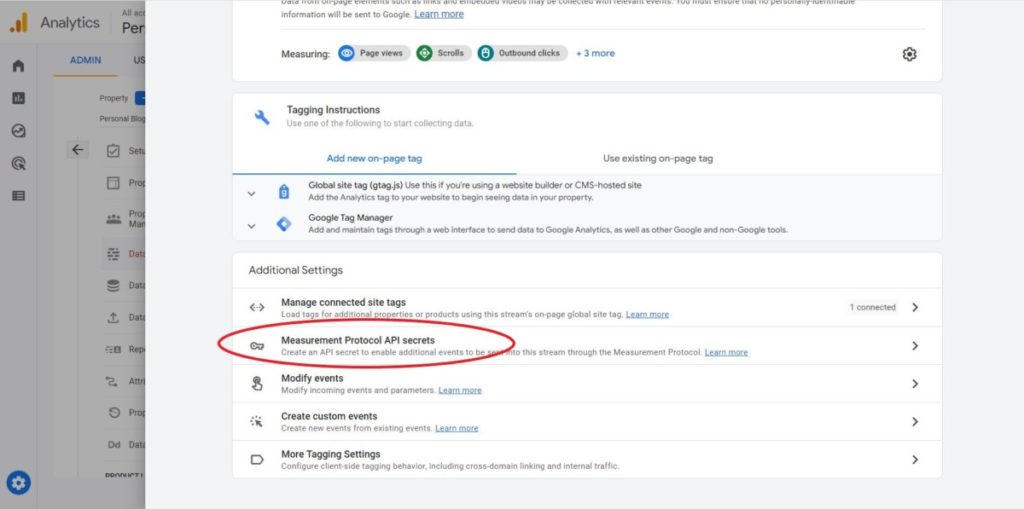
A new popup will appear, prompting you to review terms before creating an API.
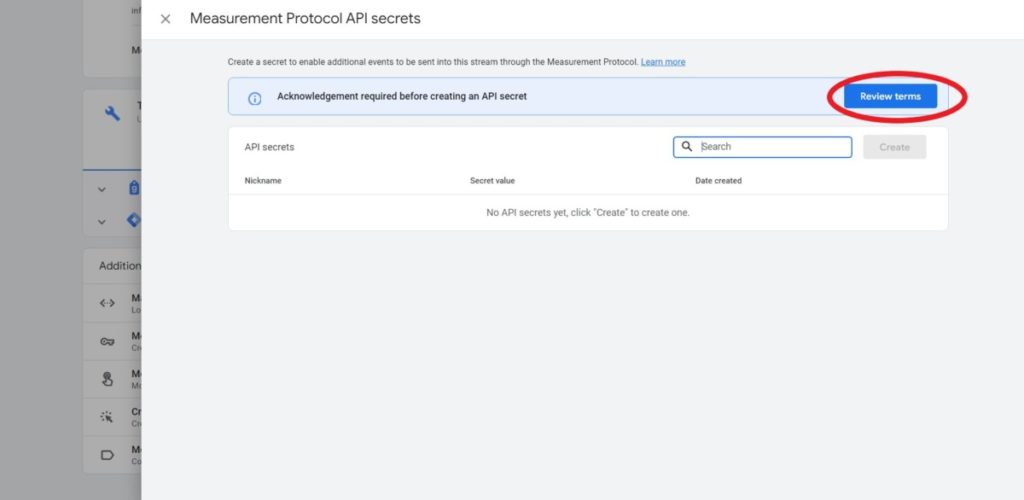
Click on it, & click “I acknowledge”.
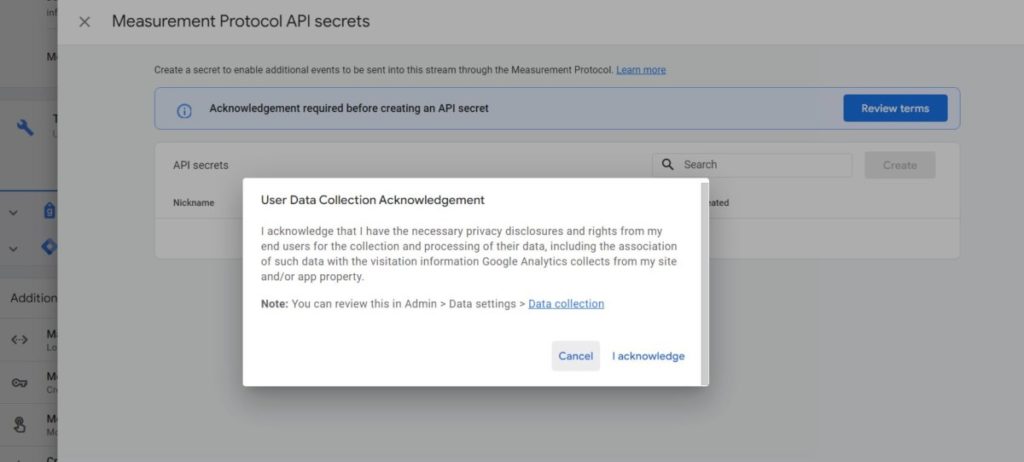
Now click “Create”.
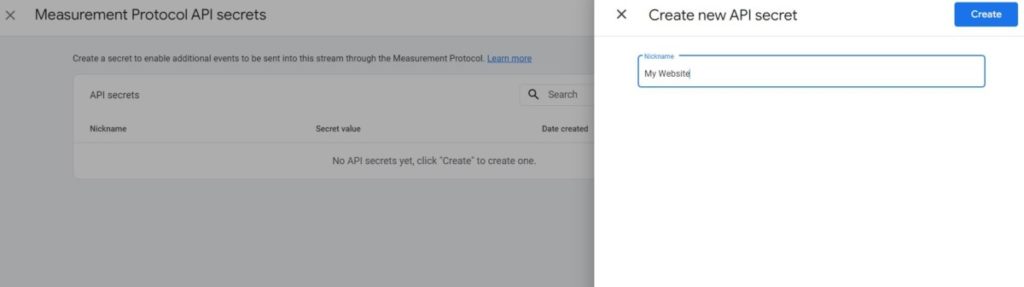
Name your API. I’ll name mine “My Website”, then click “Create”.
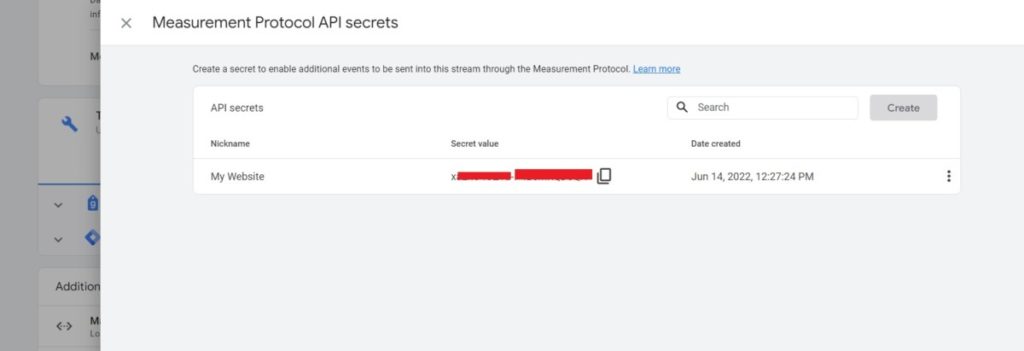
You will now have created your Measurement Protocol API Secret. Copy this value.
Once that is copied, go back to your WordPress backend & go to MonsterInsights > Settings.
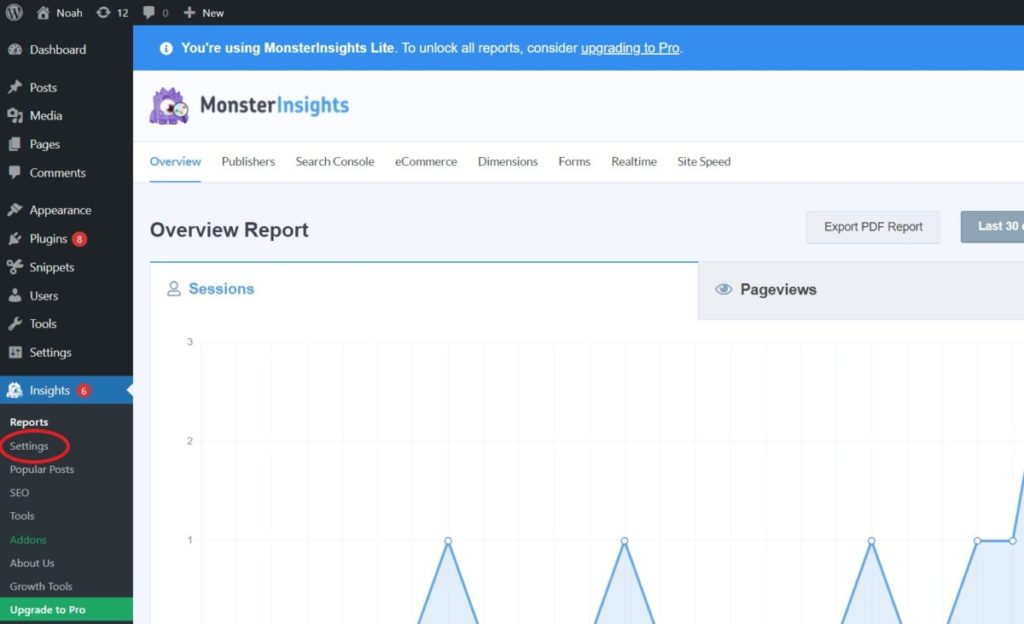
Scroll down to the “Google Authentication” section, then paste the Measurement Protocol API Secret here in the encircled area.
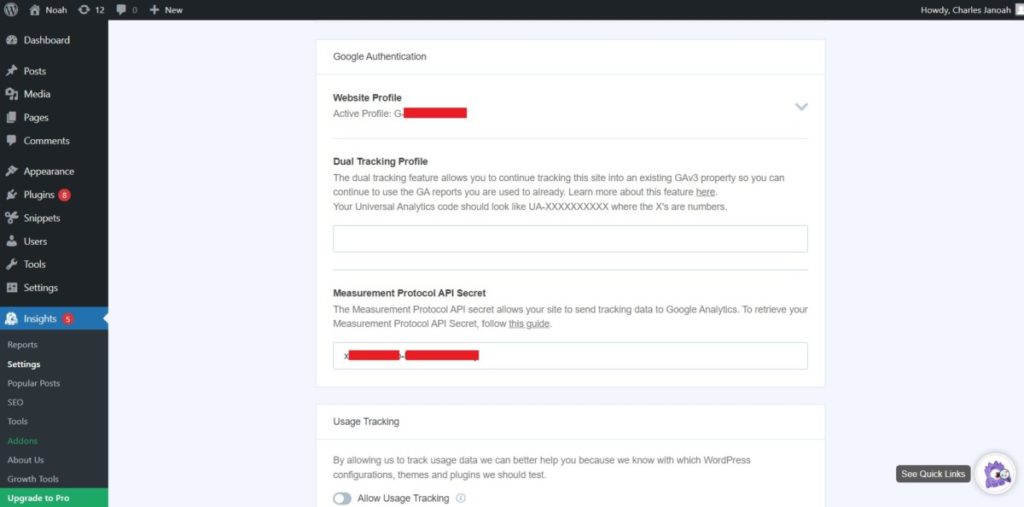
You’ve successfully linked the Measurement Protocol API Secret to MonsterInsights! Normally, we would stop here, but we want to be extra careful in this transition period from UA to GA4, so let’s set up Dual Tracking.
4. Setup Dual Tracking
If you’ve done this correctly, you will have connected one of your Google Analytics properties, the GA4 property, to MonsterInsights. Now, we will connect our UA property.
In the same area, go back to the Google Authentication area, & you will see a blank box called “Dual Tracking Profile”. We will add our UA property here.
Go back to your Google Analytics tab, then open your UA property from the upper right corner of your screen.
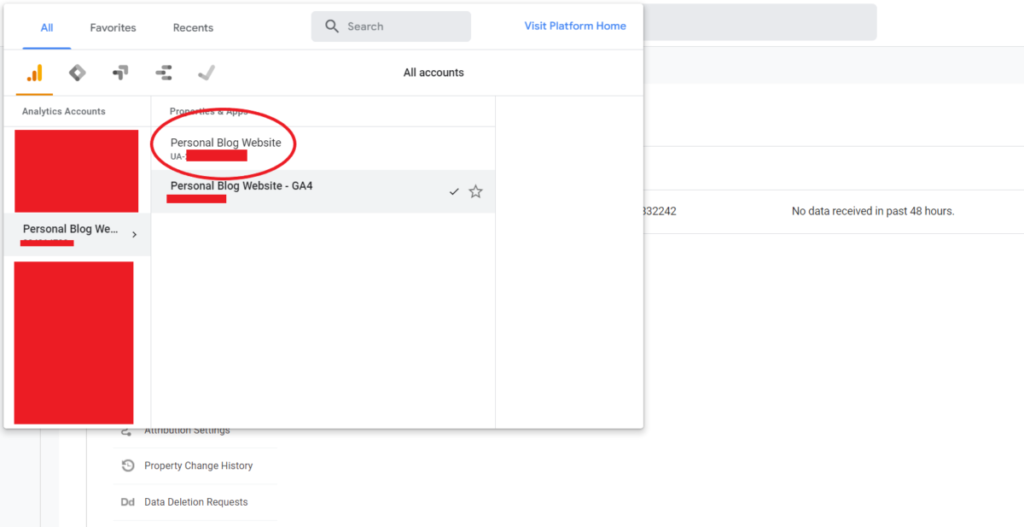
Select any of the views, then you will be in the UA property of your Google Analytics account.
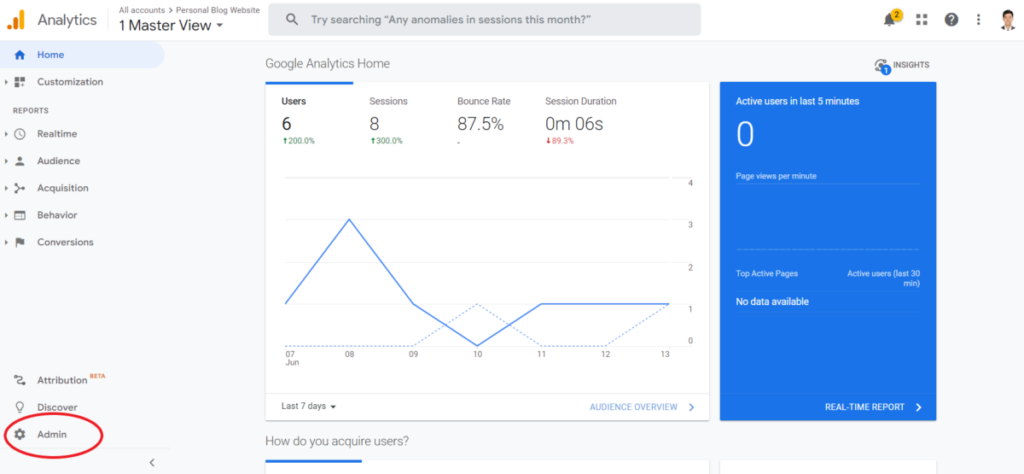
From here, go to the Admin section in the lower left.
Once you are in the Admin section, select Property Settings, & you will be able to see your UA Tracking ID.
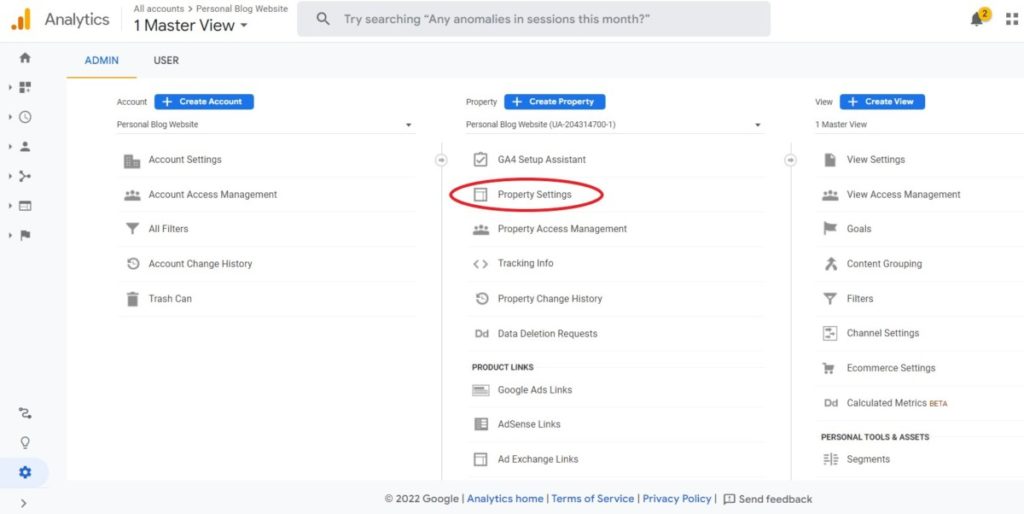
Copy this code, & go back to MonsterInsights to paste it in the “Dual Tracking Profile”.
All that’s left to do is to test if it’s working.
5. How to Test Google Analytics.
If you are still logged in to the WordPress backend of your website, log out. MonsterInsights automatically blocks any Admin or Editor activity from being sent to Google Analytics (a feature I love), so log out if you haven’t right now.
Go to any page in your website, & make sure you have it open in one tab while having Google Analytics open in another.
In Google Analytics, go to Home. From there, check the “Users in last 30 minutes” area of the reporting page, & wait & see if any activity happens.
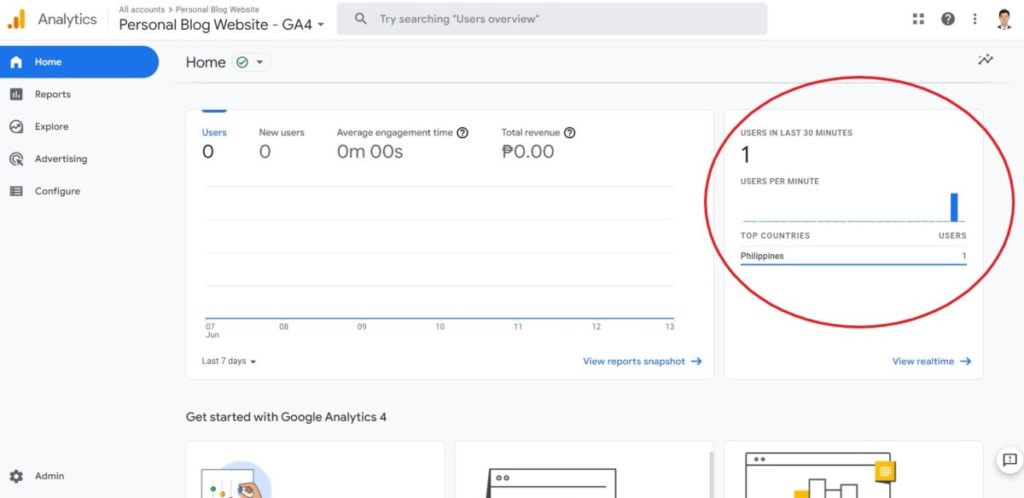
If you see any activity, congratulations! You now have Google Analytics setup in your website.
Conclusion
In this article, we have learned why it is important for you to set up Google Analytics for your business, & we also have successfully setup Google Analytics for your website. From here, you will be able to now monitor how your website is performing when you market your business online, as well as monitor if KPIs are being met.
If there is enough interest, I will write a guide on how I commonly use Google Analytics to see & read actionable data for most businesses to act on. 🙂 Do let me know in the comments!